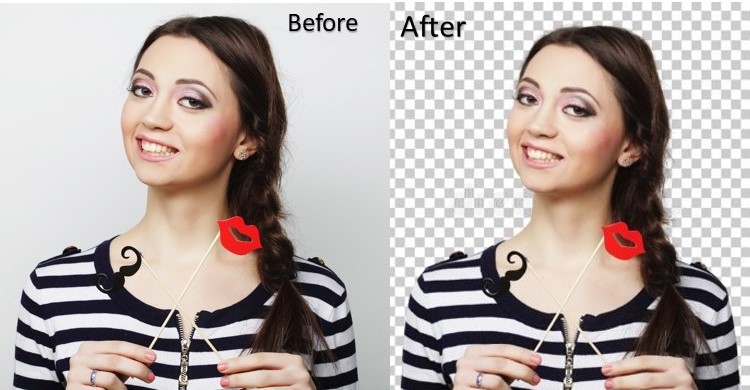
As designers, we are constantly working with images, especially when designing websites. Choosing the right image can be difficult because you need to ensure that it fits seamlessly into your website’s theme. This is where image masking service is needed.
Image masking is a powerful tool to help you optimize your images for the web. By adding an image mask, you can reveal parts of the image where there is more detail or focus. This technique can be used in both professional and personal projects to help viewers focus on what matters. So, let’s learn how to do it.
Image Masking in Photoshop
It is essential to know how to mask in Photoshop if you want to get the best results. Masking an image might be scary at first, but after you learn the basic ideas and tools, you’ll be hooked!
Many masking techniques are available in Photoshop, Illustrator, and InDesign, therefore it’s important to become familiar with them. Before we begin masking, we must first understand how selection works. In Photoshop, you may make selections in a variety of methods.
Today, we will learn how to use Photoshop’s masking tool. We’ll look at three basic Photoshop masking techniques.
-
- Mask for Vector Layer
- Removing the Mask
Image Masking in Photoshop
We’ll look at the Select Subject option for this example.
-
- Let’s take this lady from Image 1 and ask her out. To begin, go to the Select Menu and select ‘Select Subject’, which will attempt to guess the subject automatically. A dashed line will appear across the selection after it has been made.
-
- Switch to the Quick Mask selection view by pressing Q on the keyboard! (When the selection is transformed into a Mask, this view indicates what will be shown and concealed.) The default color for Quick Mask is Red, but we’ve changed it to Blue.
-
- You may also use the brush tool to refine your selection once you’re in the Quick Mask selection view. Paint using black strokes to obscure features, and white brushes to reveal them. When you’ve fine-tuned your selection and are ready to apply the Mask, press Q to return to standard view.
-
- Create a Pixel Layer Mask by selecting the ‘Japanese style’ icon and clicking the ‘Create Mask’ button. If necessary, tweak the Masks more, but be sure to pick the Mask layer rather than the picture.
Also, you may use a layer mask to permanently remove sections of a layer that are concealed. It is possible to minimize the file size by applying and removing layer masks. Alternatively, you may remove a layer mask without making any modifications to the layer.
Final Words
Keep in mind that Photoshop will consume pixels for the Mask, which means that if you resize it, the quality will deteriorate. To keep the high-quality image, convert your image layer to a smart object.

